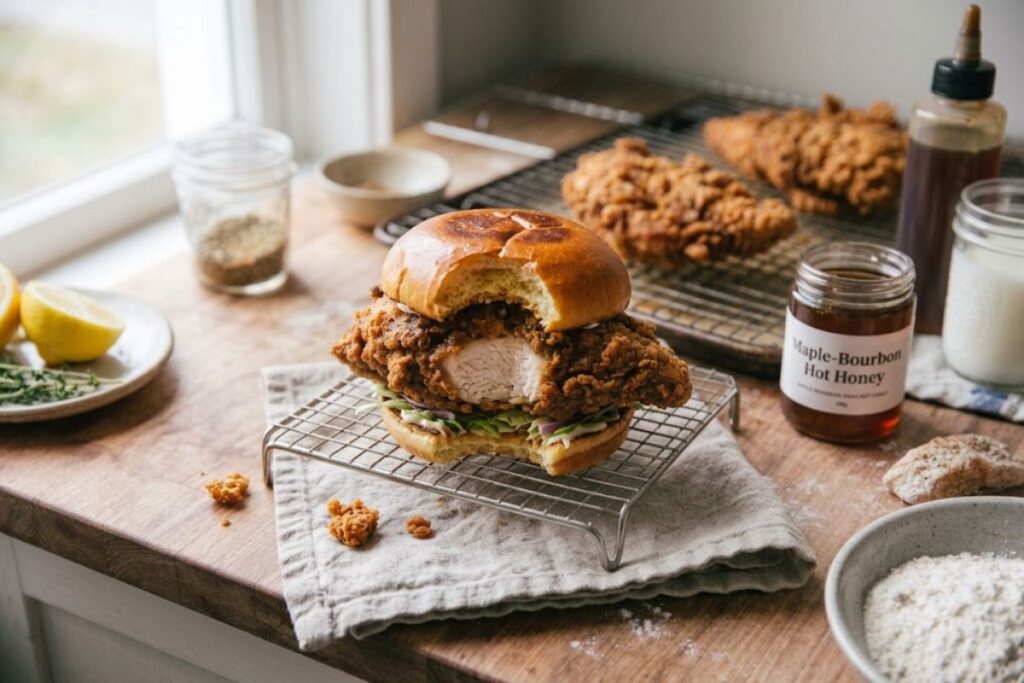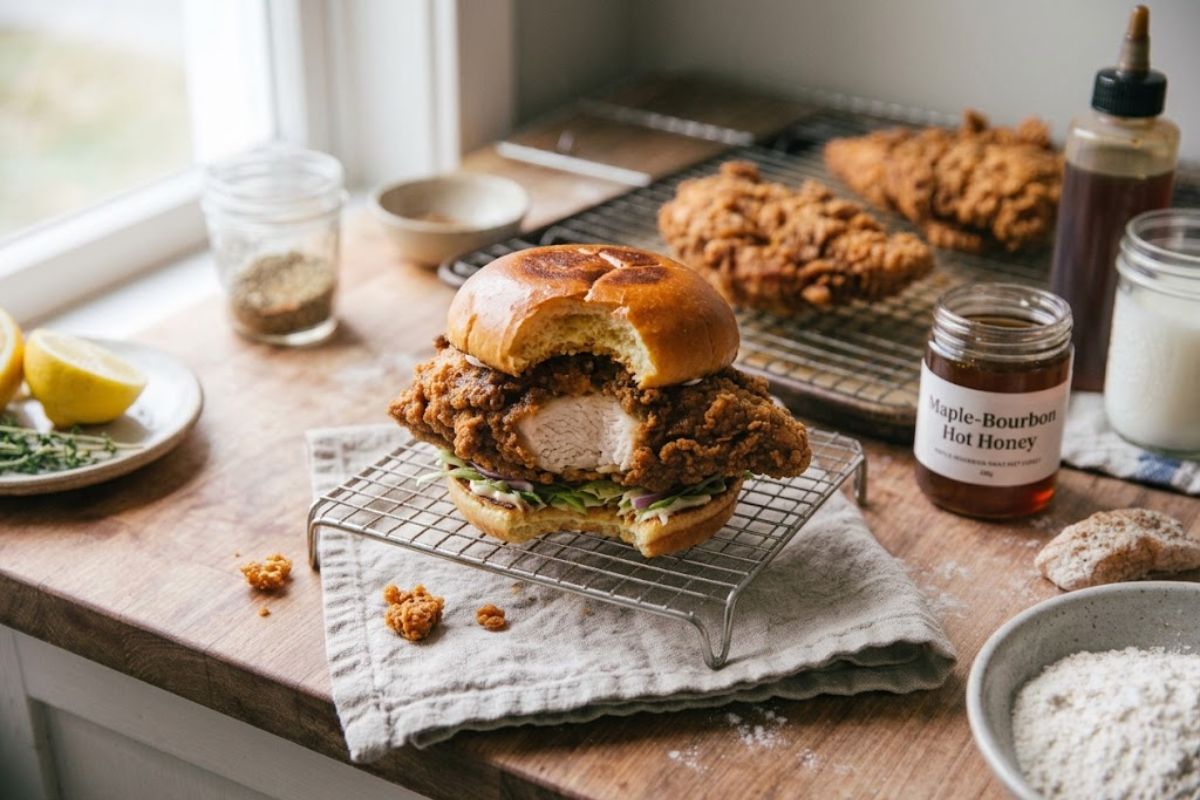
There’s something unforgettable about a truly great buttermilk chicken sandwich. It’s all about the contrast—an ultra-crispy, golden coating that shatters with every bite, wrapped around tender, juicy chicken breast that stays moist from the inside out. Add a soft toasted bun, crisp pickles, and your favorite sauce, and you’ve got a sandwich that easily rivals anything from your favorite fast-food spot.
The secret isn’t just in the frying—it starts long before the chicken ever hits the oil. A rich buttermilk marinade helps tenderize the meat while adding subtle tangy flavor, creating the perfect foundation for an extra-crispy coating. In this recipe, you’ll also use a simple double-dredging technique that builds those irresistible crunchy craggy bits every great fried chicken sandwich should have.

Whether you’re making lunch for the family, serving game-day guests, or simply craving a restaurant-quality meal at home, this buttermilk chicken sandwich recipe delivers consistently delicious results. The ingredients are easy to find, the steps are straightforward, and the finished sandwich is packed with flavor from the first bite to the last.
If you’ve been searching for the perfect buttermilk fried chicken sandwich with a crispy crust, juicy chicken breast, and a homemade taste that’s even better than takeout, you’re in the right place. Once you make this recipe, it’s likely to become your go-to whenever a serious chicken sandwich craving hits.
Quick Answer
A buttermilk chicken sandwich is made by marinating chicken breast in buttermilk, coating it in seasoned flour, and frying it until perfectly golden and crispy. Served on a toasted bun with pickles and your favorite sauce, this buttermilk fried chicken sandwich delivers a crunchy exterior and juicy, flavorful interior. With a simple double-dredging method, this recipe creates an extra-crispy sandwich that’s even better than takeout.
Why You’ll Love It
This buttermilk chicken sandwich recipe checks every box for the perfect homemade comfort food. The buttermilk marinade keeps the chicken breast incredibly tender and juicy while adding a subtle tang that enhances every bite. A seasoned double coating creates an irresistibly crunchy crust that stays crisp, even after it’s tucked into a soft toasted bun.
Another reason to love this buttermilk crispy chicken sandwich is how easy it is to customize. Top it with classic dill pickles, crisp lettuce, sliced tomatoes, spicy mayo, honey mustard, or your favorite cheese to make it exactly the way you like it.
It’s also surprisingly simple to make with everyday pantry ingredients, making it a great choice for weeknight dinners, weekend cookouts, or game-day meals. Whether you’re cooking for your family or serving guests, this sandwich delivers restaurant-quality flavor without the drive-thru. Once you taste that juicy chicken and perfectly crispy coating, you’ll want to make it again and again.
While this sandwich is a comfort food classic, you can balance your menu with lighter or creamy pasta dishes like this easy creamy carbonara recipe for a full restaurant-style meal at home. Creamy Carbonara Recipe
Ingredient Notes
Using quality ingredients makes all the difference when it comes to creating the ultimate buttermilk chicken sandwich. Each component plays an important role in building flavor, texture, and that signature crispy finish.
Chicken breasts: Boneless, skinless chicken breasts are the best choice for this recipe. Slice large breasts in half horizontally or gently pound them to an even thickness so they cook quickly and fit perfectly on a sandwich bun. Even-sized pieces also help the chicken fry evenly without drying out.
Buttermilk: This is the star ingredient. Buttermilk naturally tenderizes the chicken while adding a light tangy flavor that complements the seasoned coating. For the juiciest results, let the chicken marinate for at least 4 hours, though overnight is even better. If you don’t have buttermilk, you can make a quick substitute by stirring 1 tablespoon of lemon juice or white vinegar into 1 cup of whole milk and letting it sit for about 10 minutes.
Hot sauce: A few dashes of your favorite hot sauce in the buttermilk marinade add depth of flavor without making the chicken overly spicy. It simply gives the sandwich a subtle kick that balances the richness of the fried coating.
All-purpose flour: Flour forms the base of the crispy coating. The key is seasoning it generously so every bite is flavorful, not just the chicken itself.
Cornstarch: Mixing cornstarch with the flour creates a lighter, crispier crust that stays crunchy longer. This simple addition helps produce those golden, craggy edges that make a buttermilk crispy chicken sandwich so satisfying.
Seasonings: A blend of paprika, garlic powder, onion powder, kosher salt, black pepper, and a pinch of cayenne creates a well-balanced coating with smoky, savory flavor. Feel free to adjust the cayenne if you prefer a milder or spicier sandwich.
Oil for frying: Use a neutral, high-smoke-point oil such as peanut, canola, or vegetable oil. These oils fry the chicken evenly without overpowering the flavor.
Sandwich buns: Soft brioche buns are a favorite because they’re slightly buttery and sturdy enough to hold the crispy chicken. Potato buns are another excellent option if you prefer a softer texture.
Toppings: Dill pickle slices are the classic choice, but crisp lettuce, ripe tomato, red onion, cheese, and sauces like mayonnaise, spicy mayo, ranch, or honey mustard all pair beautifully with this buttermilk fried chicken sandwich. Toasting the buns adds extra flavor and helps prevent them from becoming soggy.
Step-by-Step Instructions
Step 1: Prepare the Chicken
Place the boneless, skinless chicken breasts on a cutting board. If they’re especially thick, slice each breast in half horizontally to create thinner cutlets. You can also gently pound them to an even thickness of about ½ inch using a meat mallet or rolling pin. Uniform pieces cook more evenly and stay juicy without burning the coating.
Pat the chicken dry with paper towels before marinating. This helps the buttermilk adhere better to the surface.
Step 2: Make the Buttermilk Marinade
In a large bowl or a zip-top bag, whisk together the buttermilk, hot sauce, a teaspoon of salt, and a little black pepper. Add the chicken, making sure every piece is completely coated.
Cover and refrigerate for at least 4 hours. For the most tender, flavorful chicken, marinate it overnight. The buttermilk gently tenderizes the meat while allowing the seasoning to penetrate deep into the chicken breast.
Step 3: Prepare the Seasoned Coating
About 20 minutes before you’re ready to fry, combine the all-purpose flour, cornstarch, paprika, garlic powder, onion powder, kosher salt, black pepper, cayenne pepper, and any additional spices you enjoy in a large shallow dish.
For an extra-crispy crust, drizzle 2 to 3 tablespoons of the buttermilk marinade into the flour mixture. Toss everything together with your fingertips until small clumps form throughout the flour. Those little clumps create the crunchy ridges that give a great buttermilk crispy chicken sandwich its signature texture.
Step 4: Dredge the Chicken
Remove one piece of chicken from the marinade, allowing the excess buttermilk to drip off naturally. Press it firmly into the seasoned flour mixture, coating every surface.
For maximum crunch, return the coated chicken to the buttermilk for a quick second dip, then dredge it once more in the flour mixture. Press the coating firmly onto the chicken instead of shaking it off. The thicker coating creates a beautifully crisp crust after frying.
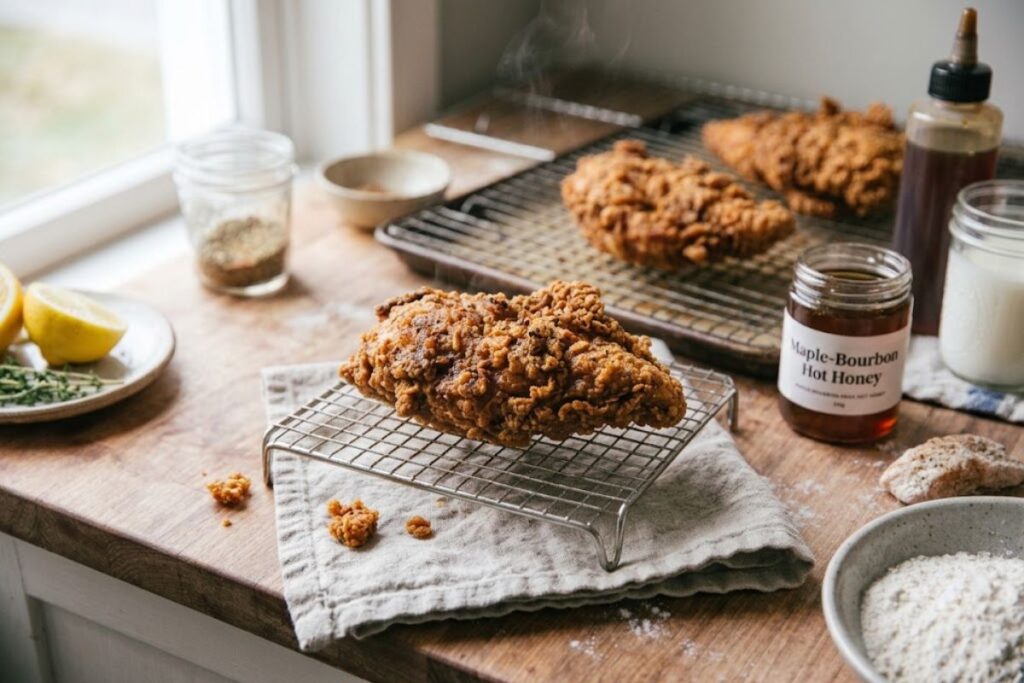
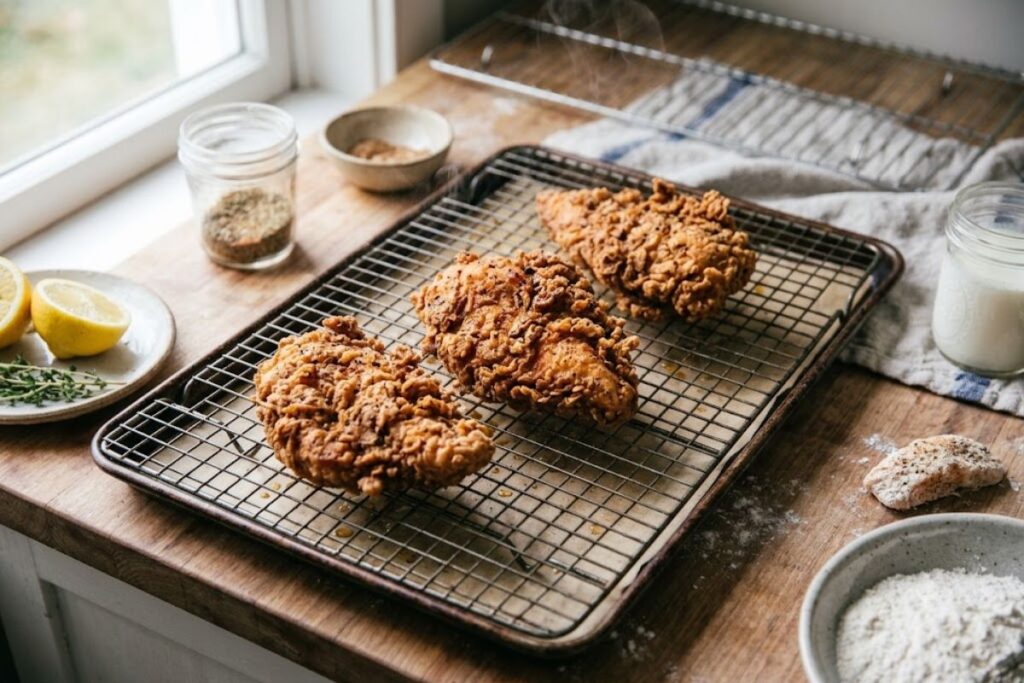
Place each coated piece on a wire rack or baking sheet while you finish breading the remaining chicken. Let the coated chicken rest for 10 to 15 minutes before frying. This short resting time helps the coating stick better, reducing the chance of it falling off during cooking.
Step 5: Heat the Oil
Pour about 2 inches of peanut, canola, or vegetable oil into a heavy-bottomed Dutch oven or deep skillet. Heat the oil to 350°F (175°C). Using a kitchen thermometer is the easiest way to maintain the correct frying temperature.
Avoid overheating the oil. If it’s too hot, the coating can brown before the chicken cooks through. If it’s too cool, the coating absorbs excess oil and becomes greasy instead of crisp.
Step 6: Fry Until Golden and Crispy
Carefully lower one or two pieces of chicken into the hot oil without overcrowding the pan. Fry in batches, allowing enough room for the oil to circulate around each piece.
Cook for about 4 to 5 minutes per side, depending on thickness, until the coating is deep golden brown and wonderfully crisp. The chicken is fully cooked when the thickest part reaches an internal temperature of 165°F (74°C).
According to USDA food safety guidelines, poultry should always reach a safe minimum internal temperature to prevent foodborne illness. USDA Safe Minimum Internal Temperature Guide
Step 7: Toast the Buns
While the chicken rests for a few minutes, lightly butter the cut sides of the sandwich buns. Toast them in a skillet or on a griddle over medium heat until they’re lightly golden. Toasting adds flavor and helps keep the buns from becoming soggy once the chicken and toppings are added.
Step 8: Assemble the Sandwiches
Spread mayonnaise, spicy mayo, or your favorite sandwich sauce on both halves of each toasted bun. Place the crispy buttermilk chicken on the bottom bun, then layer with dill pickle slices. Add lettuce, tomato, cheese, or red onion if desired.
Finish with the top bun and serve immediately while the chicken is hot and the coating is at its crispiest. Pair your homemade buttermilk fried chicken sandwich with French fries, coleslaw, potato salad, or crispy onion rings for a complete meal that’s every bit as satisfying as your favorite restaurant version.
Tips & Tricks
Making an unforgettable buttermilk chicken sandwich isn’t difficult, but a few simple techniques can take it from good to restaurant-quality.
Start by giving the chicken enough time to marinate. While 4 hours works well, an overnight soak in buttermilk produces the juiciest chicken and the most flavorful results. Avoid marinating much longer than 24 hours, as the texture can become too soft.
For the crispiest coating, don’t skip the double dredge. Coating the chicken in seasoned flour, dipping it back into the buttermilk, and coating it again creates thick, crunchy layers that fry up beautifully. Adding a few spoonfuls of buttermilk to the flour mixture also forms small clumps that create those irresistible crispy bits.
Use a thermometer to monitor your oil temperature and keep it close to 350°F (175°C). If the oil gets too hot, the outside can brown before the chicken is fully cooked. If it drops too low, the coating absorbs more oil and loses its crunch.
Always fry in small batches. Overcrowding the pan lowers the oil temperature and prevents the chicken from becoming evenly golden and crispy.
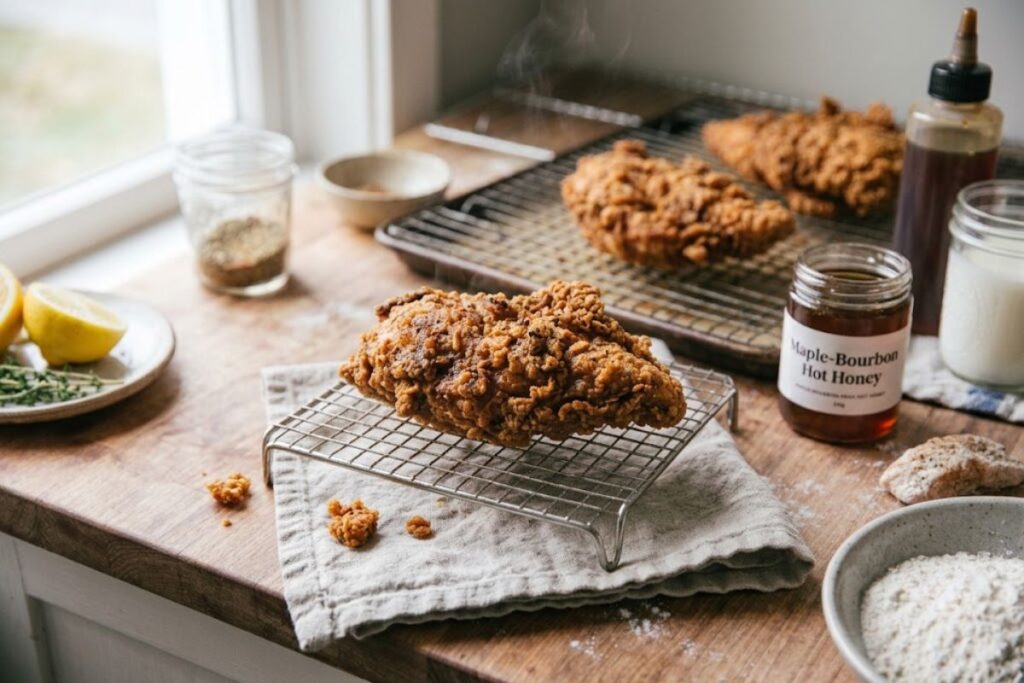
After frying, place the chicken on a wire rack instead of paper towels. This allows air to circulate around the chicken, keeping the crust crisp on every side.
Finally, toast your sandwich buns just before assembling. A lightly toasted bun adds flavor, provides a sturdier base for the juicy chicken, and helps prevent the bread from becoming soggy. Assemble the sandwiches right before serving so every bite stays hot, crunchy, and packed with fresh flavor.
Variations
One of the best things about this buttermilk chicken sandwich recipe is how easy it is to customize. With a few simple changes, you can create a sandwich that suits your taste or the occasion.
For a spicy buttermilk crispy chicken sandwich, add extra cayenne pepper to the seasoned flour and mix your favorite hot sauce into the mayonnaise for a creamy, spicy spread. Top it with pepper jack cheese and spicy pickles for even more heat.
For a bold fusion twist, try pairing spicy versions of this sandwich with dishes like gochujang salmon for a full sweet-heat inspired menu. Gochujang Salmon Recipe
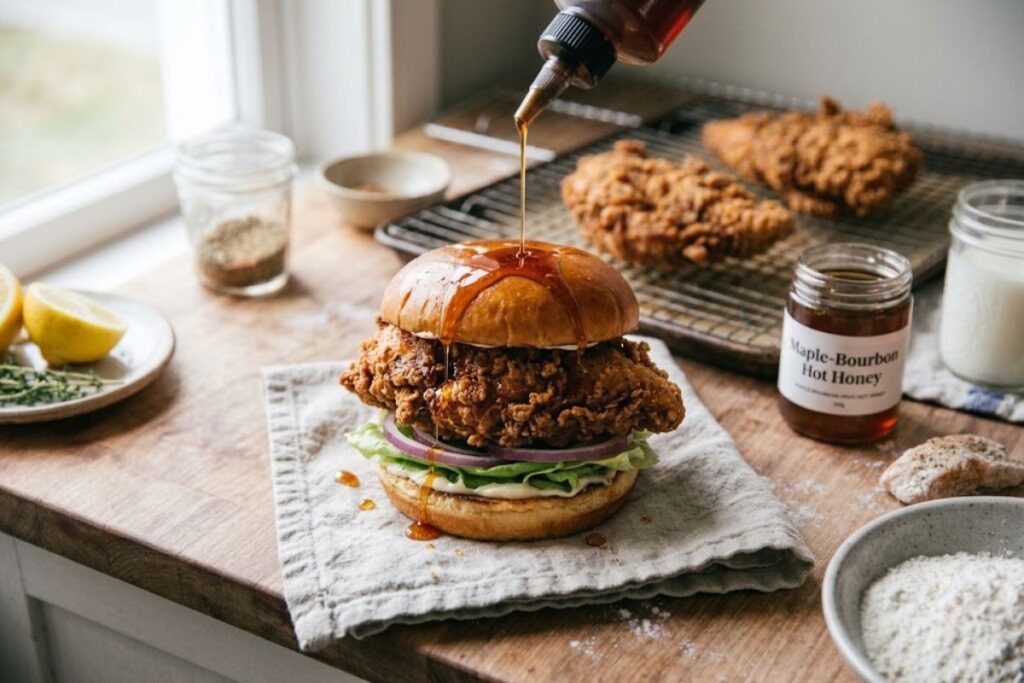
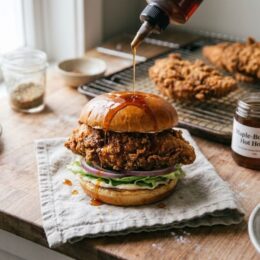
If you prefer a sweeter flavor, make a hot honey chicken sandwich by drizzling hot honey over the freshly fried chicken. The combination of sweet, spicy, and crispy is hard to beat.
Want a lighter option? Bake the breaded chicken at 425°F on a wire rack until it reaches an internal temperature of 165°F, or cook it in an air fryer for a crisp exterior with less oil. While the coating won’t be quite as crunchy as deep-fried, it will still be delicious.
You can also switch up the toppings to create new flavor combinations. Try sliced avocado, crispy bacon, coleslaw, caramelized onions, Swiss or cheddar cheese, or a tangy barbecue sauce. For a Southern-inspired twist, serve the sandwich with pimento cheese and bread-and-butter pickles.
No matter which variation you choose, the juicy buttermilk chicken breast and crispy coating remain the star of the sandwich.
Storage & Reheating
For the best flavor and texture, enjoy your buttermilk chicken sandwich fresh while the chicken is hot and crispy. If you have leftovers, store the fried chicken separately from the buns and toppings to keep everything from becoming soggy.
Place the cooled chicken in an airtight container and refrigerate for up to 4 days. If you’d like to store it longer, wrap each piece tightly in plastic wrap or foil, then place it in a freezer-safe bag or container. Freeze for up to 3 months and thaw overnight in the refrigerator before reheating.
To bring back the crispy coating, reheat the chicken in a 375°F oven or air fryer for 8 to 12 minutes, or until heated through and the internal temperature reaches 165°F. Avoid using the microwave if possible, as it softens the crunchy crust and can make the coating chewy.
Once the chicken is hot, toast a fresh bun and add your favorite toppings before assembling the sandwich. Rebuilding the sandwich just before serving gives you the best texture and keeps the buttermilk crispy chicken sandwich tasting as close to freshly made as possible.
FAQs
What does buttermilk do for fried chicken?
Buttermilk tenderizes the chicken by breaking down proteins, making it juicy and soft while adding a subtle tangy flavor that enhances the overall taste of the sandwich.
How long should I marinate chicken in buttermilk?
For best results, marinate the chicken for at least 4 hours. Overnight (8–24 hours) is ideal for maximum tenderness and flavor in a buttermilk chicken sandwich.
Why is my fried chicken not crispy?
Common reasons include oil temperature being too low, overcrowding the pan, or skipping the double dredge. Keeping oil at 350°F and using a seasoned coating helps ensure crispiness.
Can I make this buttermilk chicken sandwich in an air fryer?
Yes. While it won’t be as deeply crispy as deep-fried, an air fryer at 375°F can still produce a crunchy, lighter version of this buttermilk crispy chicken sandwich.
What oil is best for frying chicken?
Neutral oils with high smoke points like vegetable, canola, or peanut oil work best because they fry evenly without affecting the flavor.
How do I keep fried chicken crispy after cooking?
Place it on a wire rack instead of paper towels and avoid covering it tightly. This allows air circulation and prevents steam from softening the crust.
Can I prepare the chicken ahead of time?
Yes. You can marinate and even bread the chicken a few hours ahead. Keep it refrigerated on a rack until ready to fry for best texture.
Recipe Card:
Extra Crispy Buttermilk Chicken Sandwich
Equipment
- 1 Cast iron skillet or deep heavy-bottomed pot
- 1 Deep-fry thermometer
- 1 Mixing bowls (2–3 sizes)
- 1 Wire cooling rack
- 1 Tongs
- 1 Meat mallet (optional)
- 1 Baking sheet
Ingredients
The Chicken Brine
- 2 large boneless skinless chicken breasts (sliced in half)
- 2 cups buttermilk
- 1 tbsp hot sauce
- 1 tsp salt
- ½ tsp black pepper
The Crispy Dredge
- 1 ½ cups all-purpose flour
- ½ cup cornstarch
- 1 tbsp paprika
- 1 tsp garlic powder
- 1 tsp onion powder
- 1 tsp kosher salt
- ½ tsp black pepper
- ¼ tsp cayenne pepper optional, for heat
- 2 tbsp buttermilk for clumping texture
The Assembly & Glaze
- 4 brioche or potato buns toasted
- 1 cup vegetable or peanut oil for frying, or as needed
- Dill pickle slices
- Lettuce, tomato, or onion (optional)
- Mayonnaise or spicy mayo
Instructions
- Prepare Chicken: Slice chicken breasts evenly or pound to ½-inch thickness for uniform cooking.
- Marinate: Combine buttermilk, hot sauce, salt, and pepper. Submerge chicken and refrigerate 4–24 hours.
- Make Dredge: Mix flour, cornstarch, and seasonings. Add a few spoonfuls of buttermilk to create craggy bits.
- Coat Chicken: Remove chicken from marinade, dredge in flour mixture, dip back in buttermilk, and coat again firmly.
- Heat Oil: Heat oil in skillet to 350°F (175°C) using a thermometer.
- Fry Chicken: Fry in batches for 4–5 minutes per side until deep golden brown.
- Internal temperature must reach 165°F (74°C) in the thickest part.
- Drain Properly: Place fried chicken on a wire rack to keep coating crisp.
- Toast Buns: Lightly butter and toast buns until golden.
- Assemble: Spread mayo on buns, add chicken, pickles, and toppings. Serve immediately.
Notes
Nutrition (Per Serving – Estimated)
- Calories: 620 kcal
- Protein: 38 g
- Carbohydrates: 52 g
- Fat: 28 g
- Sodium: 980 mg
Conclusion
This buttermilk chicken sandwich is the kind of recipe that proves simple ingredients can deliver incredible results. With a few smart techniques—like a tangy buttermilk marinade, a well-seasoned double dredge, and proper frying temperature—you get a sandwich that’s crispy on the outside, juicy on the inside, and full of bold flavor in every bite.
Whether you’re making it for a quick family dinner, a weekend treat, or game-day cravings, this recipe brings consistent, restaurant-quality results right to your kitchen. The combination of crunchy coating, tender chicken breast, and toasted bun makes it a true comfort food classic.
Once you master this buttermilk fried chicken sandwich, you’ll find yourself coming back to it again and again. It’s simple, satisfying, and always hits the spot.