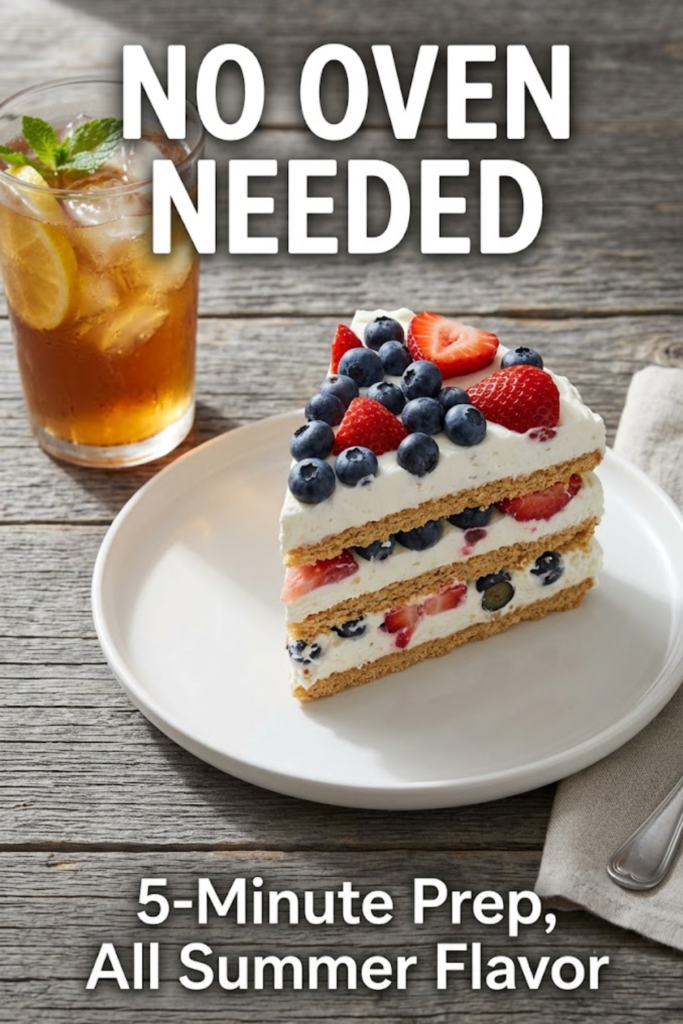
There’s a specific kind of heat that hits around the Fourth of July — the kind where the asphalt shimmers and the last thing you want to do is turn on the oven. If you’ve ever stood in your kitchen thinking “absolutely not,” this no bake berry icebox cake is the answer.
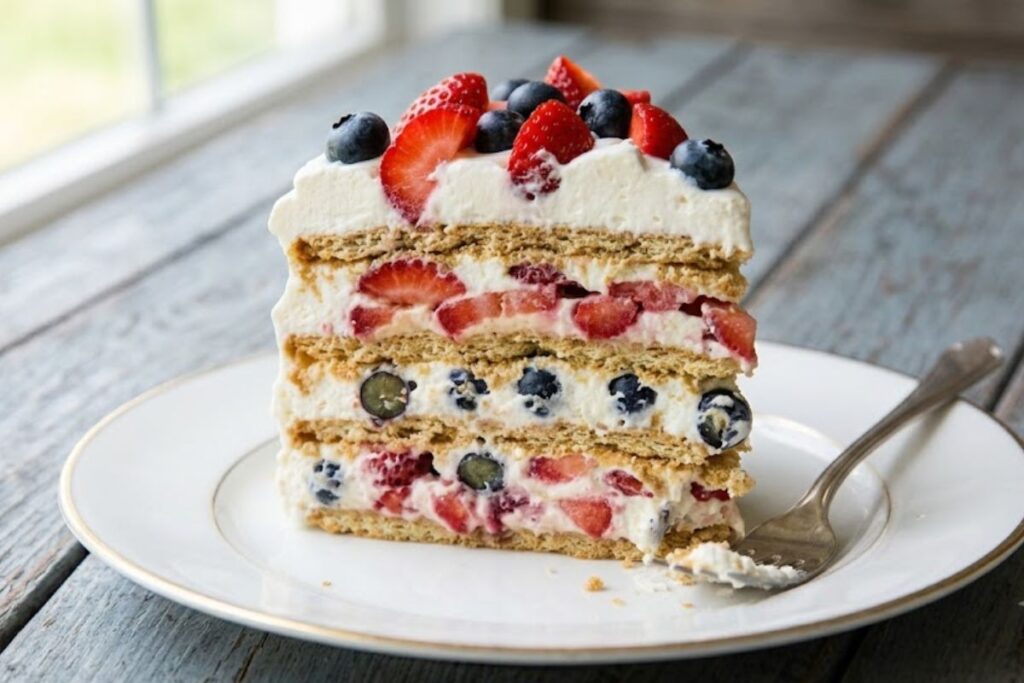
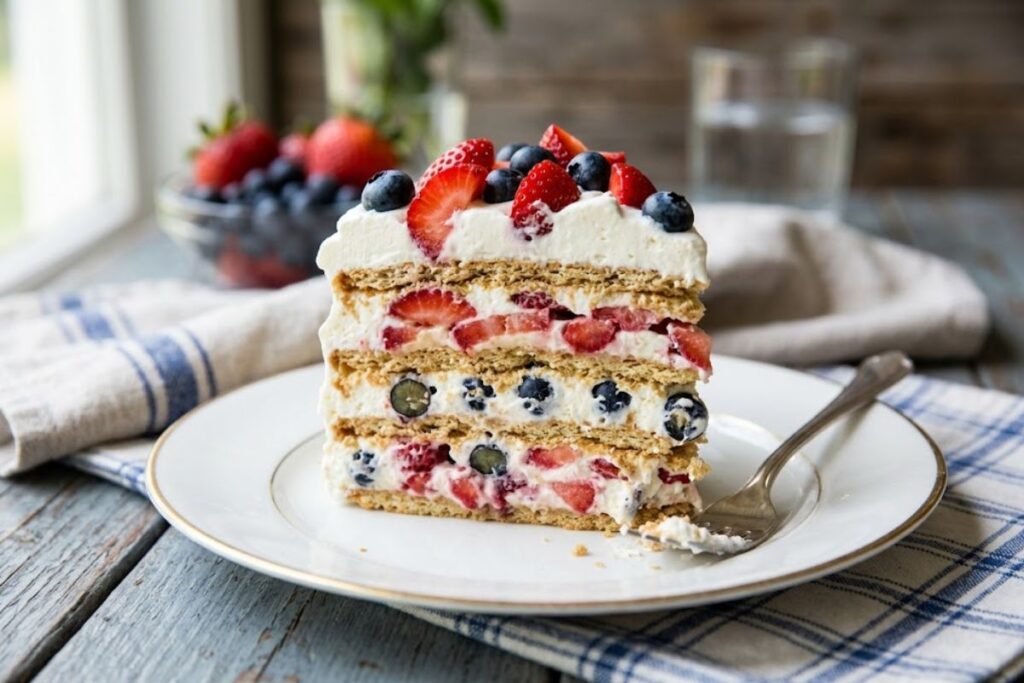
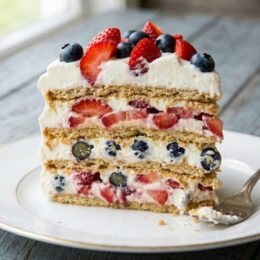
It looks like it took hours. Tall, tidy layers of graham crackers, clouds of vanilla whipped cream, and fresh strawberries and blueberries stacked in patriotic stripes. Guests will think you spent hours making it. In reality, this is a fridge dessert — you build it, chill it, and let time do the rest.
That’s the whole idea behind icebox cake as a category, and it’s not new. Long before air conditioning became common, home cooks turned to their iceboxes during the hottest months, layering crisp cookies with whipped cream and letting time do the work instead of a hot oven. Vintage refrigerator ads leaned hard into that idea, selling convenience and elegance in the same bite. They were right — this easy berry icebox cake is proof the idea still works today.
I’ve made this the night before everything from neighborhood cookouts to family Fourth of July dinners, and it’s always one of the first desserts to disappear. If you’re after an easy no bake dessert for a backyard gathering, a lake house weekend, or a patriotic dessert for your Fourth of July table, this one’s it — no oven, hardly any effort, and a payoff that looks far more impressive than what it actually took.
Why This No Bake Berry Icebox Cake Works & Smart Variations
Here’s the part that feels like a magic trick but is really just simple chemistry: those dry, snappy graham crackers won’t stay dry for long. As the cake chills, moisture from the whipped cream works its way into the crackers, softening them until they take on a tender, cake-like texture. Give it enough time in the fridge and the layers turn into something surprisingly similar to a soft, layered dessert like tiramisu. That’s the real secret behind the best ice box cake — patience, not skill.
Expert tip: Don’t skip the overnight chill. Four hours works in a pinch, but an overnight rest gives the graham crackers enough time to soften all the way through into perfectly cake-like layers.
A few ways to make this graham cracker dessert your own:
- Swap the base. Vanilla wafers work beautifully in place of graham crackers for a slightly sweeter, more delicate bite.
- Lighten it up. Fold in a container of whipped Greek yogurt with your cream for something that still tastes indulgent but carries more protein.
- Go dairy-free. A quality coconut whipped cream holds up well here and adds a subtle tropical note against the berries.
If you love effortless, chilled fruit desserts that don’t require an oven, check out our favorite No-Bake Cranberry Orange Cheesecake — same “let the fridge do the work” philosophy, different season.
Fresh berries add natural sweetness, color, and plenty of vitamin C — a nice nutritional bonus, per the USDA MyPlate fruit guidelines.
No Bake Berry Icebox Cake Culinary Guide (No-Fail Instructions)
Whipping the Cream
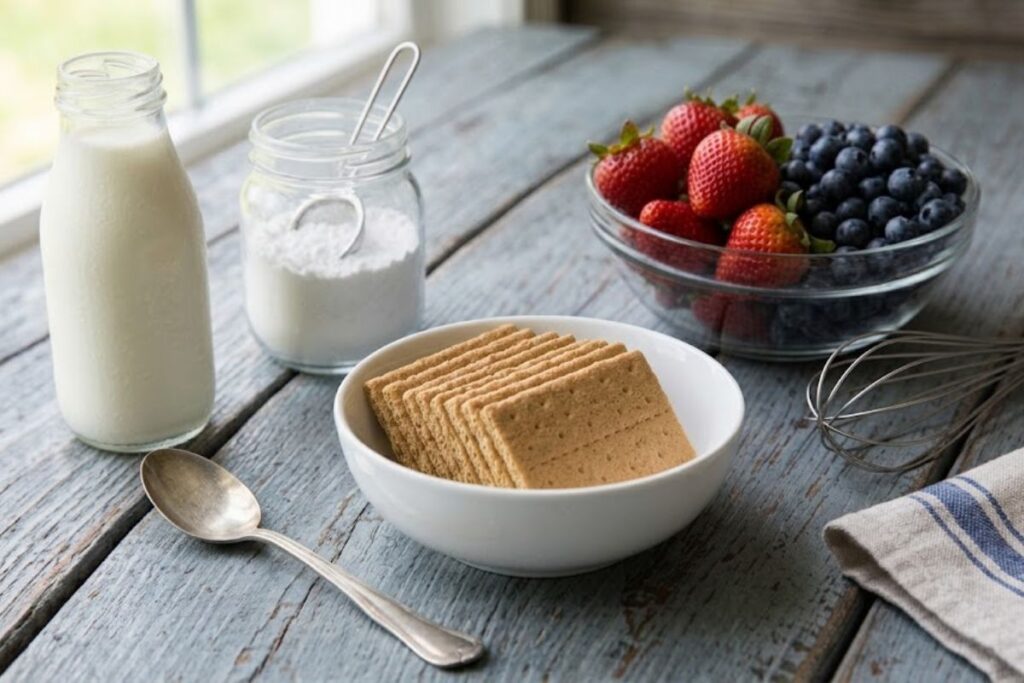
- Chill your mixing bowl and beaters for 10 minutes beforehand — cold equipment whips faster and holds its shape longer.
- Pour in the cold heavy whipping cream, powdered sugar, and vanilla extract.
- Beat on medium-high until stiff peaks form, about 3–4 minutes. Stop as soon as the peaks hold their shape.
Prepping the Fresh Berries
- Hull and thinly slice the strawberries so they layer evenly.
- Rinse the blueberries and pat them completely dry — excess water thins out your whipped cream layers.
- Keep both in separate bowls so you can control the red-white-blue pattern as you build.
The Art of Layering
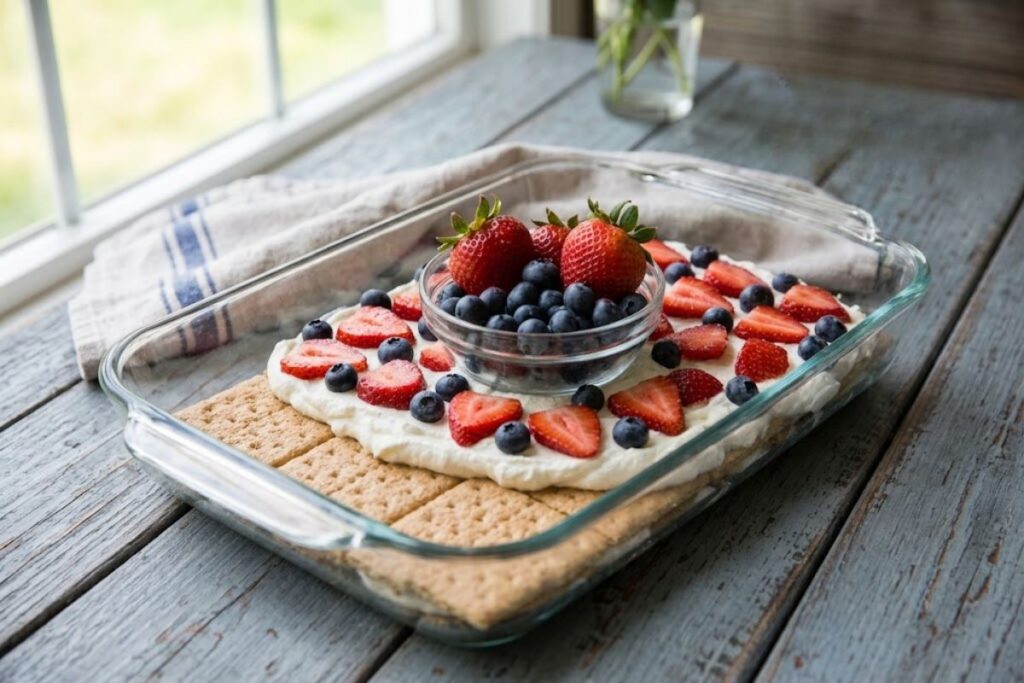
- Spread a thin layer of whipped cream in the bottom of your 9×13-inch dish to anchor the first layer of crackers.
- Lay graham crackers edge to edge, breaking pieces as needed to fill gaps.
- Spread whipped cream over the crackers, then scatter strawberries and blueberries in alternating stripes or a checkerboard pattern.
- Repeat — crackers, cream, berries — until you reach the top, finishing with a generous layer of whipped cream and a final scatter of berries.
The Essential Chilling Phase
- Cover tightly and refrigerate at least 4 hours; overnight is better.
- This step is non-negotiable — it’s what turns crisp crackers into soft, cake-like layers.
Keeping dairy-based desserts properly chilled isn’t just about texture — it matters for food safety too, per USDA food safety guidelines on perishable desserts.
Common Mistakes to Avoid
- Skipping the dry step on your berries. Even a little extra moisture from unwashed or freshly rinsed berries can turn your whipped cream layers watery by the next day.
- Rushing the chill time. Slicing this no bake berry icebox cake before it’s had at least 4 hours in the fridge means you’ll hit crunchy, unsoftened crackers in the middle instead of that cake-like texture.
- Overwhipping the cream. Cream that goes past stiff peaks turns grainy and won’t spread smoothly between layers — stop as soon as it holds its shape.
- Using warm cream or a warm bowl. Room-temperature cream takes much longer to whip and won’t hold peaks as well. Chill your bowl and beaters first.
What to Serve With This
This icebox cake is built for a full spread, not just dessert duty. For a Fourth of July table, pair it with something smoky off the grill, like our Honey Lime Jerk Chicken Skewers — the sweet-spice kick plays well against the cool, creamy layers of the cake. On the side, our Cowboy Caviar is a natural match — it’s the kind of make-ahead, no-cook dish that fits the same “let the fridge do the work” spirit as this dessert, so you’re not stuck in the kitchen all day. If you want a second dessert option on the table, our Dairy-Free Ice Cream rounds things out for guests who need a dairy-free treat alongside this one.
Comprehensive FAQ
Can I use frozen berries instead of fresh for this berry icebox cake?
You can, but thaw them completely and blot dry with paper towels first. Frozen berries release extra liquid as they thaw, and that liquid will water down your whipped cream layers if you skip this step.
How long does a no-bake icebox cake need to sit before slicing?
At least 4 hours, but overnight is where this cake really hits its stride. The graham crackers need that time to soften into a cake-like texture — cut too early and you’ll still get crunch in the middle.
How do I keep my icebox cake from turning into a soggy mess?
Dry berries are your best defense. Pat them thoroughly before layering, and don’t add more fruit than the recipe calls for — extra berries mean extra moisture, which can turn your layers mushy.
Can I make this dessert a day in advance?
Absolutely — this is a genuine make-ahead dessert. Making it the night before actually gives the best texture, since the layers have more time to soften. Keep it covered in the fridge until ready to slice.
Can I freeze berry icebox cake?
It’s not recommended. The whipped cream and fresh berries don’t hold up well to freezing and thawing — you’ll end up with a watery, separated texture instead of the creamy layers this dessert is known for. This one’s meant to be a fridge dessert, not a freezer one.
Recipe Card
No Bake Berry Ice Box Cake
Equipment
- 1 9×13-inch glass baking dish
- 1 Electric hand mixer or stand mixer
- 1 Large mixing bowl
- 1 Offset spatula
- 1 Chef’s knife
Ingredients
- 2 cups heavy whipping cream cold
- 1/2 cup powdered sugar
- 1 tsp pure vanilla extract
- 14 oz whole graham crackers
- 1.5 cups fresh strawberries hulled and thinly sliced
- 1.5 cups fresh blueberries washed and dried
Instructions
- In a large mixing bowl, combine the cold heavy whipping cream, powdered sugar, and vanilla extract. Beat with an electric hand mixer on medium-high speed for 3 to 5 minutes, until stiff peaks form.
- Spread a thin layer of whipped cream over the bottom of a 9×13-inch baking dish. This helps keep the graham crackers in place.
- Arrange a single layer of graham crackers over the whipped cream, breaking crackers as needed to cover the bottom evenly.
- Spread about one-third of the whipped cream over the graham crackers using an offset spatula.
- Top with about one-third of the sliced strawberries and blueberries, distributing them evenly.
- Repeat the layers two more times in this order: graham crackers, whipped cream, and berries.
- Finish with a final layer of whipped cream. Decorate the top with the remaining strawberries and blueberries in any pattern you like for a festive red, white, and blue presentation.
- Cover the baking dish tightly with plastic wrap or a lid and refrigerate for at least 8 hours, or preferably overnight. This allows the graham crackers to soften into a cake-like texture.
- Slice into squares and serve chilled. Store leftovers covered in the refrigerator for up to 3 days.
Notes
Calories: 290 kcal | Carbohydrates: 34g | Protein: 3g | Fat: 16g | Sugar: 18g
Save This Recipe for Later
If you’re planning your next cookout or holiday spread, this is one recipe you’ll want to keep on repeat. It’s make-ahead friendly, easy to scale for a crowd, and always one of the first desserts to disappear from the table.
Pin it, save it, and share it so you always have the perfect no-oven dessert ready when summer heat strikes.